Monday, August 22, 2016
Crazy Quilt Embroidery School - Lesson Two
Seam 3: Feather stitch, Straight stitch, French knot
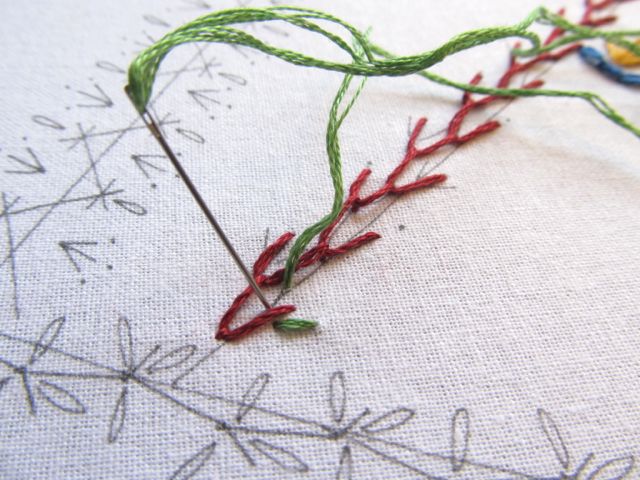
Bring the needle to the front of the fabric at the top left prong of the first feather. Be sure to leave the tiny dots alone. These are for french knots.
Insert the needle into the opposite prong, and bring the needle to the back leaving a loop of thread still at the front.
Now bring the needle back to the front at the bottom of the first feather, which is the bottom of the V. Pull the thread through to make the first stitch.
You can continue to make stitches by inserting the needle at the end of the next V prong and bringing the needle back up at the bottom of the V while wrapping the thread around the needle. Be sure to work the actual V. There are tricky straight stitch lines on both sides of some of the Vs.
Work the straight stitches on either side of the Vs.
Add french knots where the little dots are. Bring the needle to the front of the fabric right next to a dot.
Wrap the thread around the needle twice.
Insert the needle into the fabric just a couple of threads away from where you started and gently pull the wrapped threads close to the needle.
Pull the needle to the back of the fabric drawing the thread through to make a knot.
Seam 4: Chevron stitch
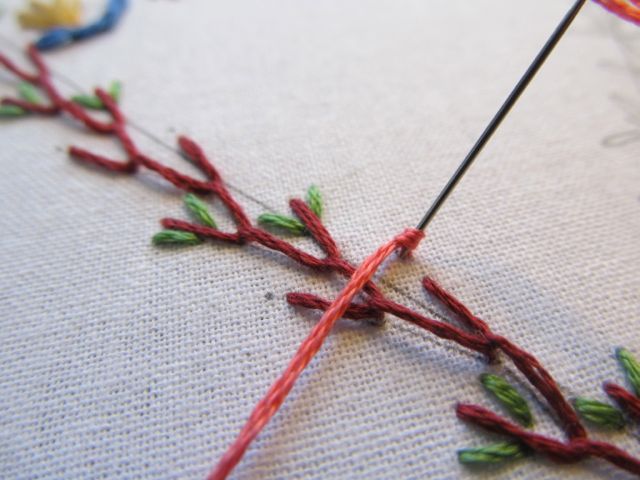
Bring the needle and thread to the front of the fabric on the left side of the first stitch. Insert the needle at the other end of this small stitch and bring it to the back leaving a loop of thread.
Bring the needle and thread back to the front in the middle of this stitch which is at the end of that upside down V line. Pull the thread through.
Make a stitch over the long line and then stitch the top "cap" stitch.
Once again bring the needle back up in the middle of the small stitch which is the end of the next long line. Continue making long and short stitches.
That's all for this lesson. Seam 5 is next!
Subscribe to:
Post Comments (Atom)


No comments:
Post a Comment