

Welcome back for the last week of Embroidery School!
The sampler is finished. It's ready to be made into hoop art as a gift or to be proudly displayed on your sewing room wall. Maybe you want to frame it. But first it needs to be prepared as will all your work.
Not all embroidery has to be washed before displaying. In fact, I prefer to simply iron it and it's ready. But what if you need to wash your stitchery? What if you've been embroidering onto clothes and linens that are being used and getting dirty?
What's the best way to wash and care for embroidered items of all types?

Framed work and hoop art
If the work is being displayed under glass, it is unlikely that it will become dirty or dusty after framing. Hoop art, on the other hand, is going to be a dust magnet. It has to be able to be cleaned and have all the dust removed without brushing or rubbing the threads which can loosen them or cause them to become "furry".
Dirty hoop art can be spot cleaned gently and a very gentle dusting can be accomplished by using a lint brush (or back of a sticky label) around stitching. To spot clean a stain, wrap a piece of white cotton cloth, such as a clean bed sheet rag, around your index finger, dip into a bit of slightly soapy water (dye-free castille or simple lye soap such as Ivory) and rub out the stain gently. Wipe again this way with the rag that has been dipped in clean water and let it air dry.
The best way to prevent hoop art from becoming encrusted with dust is to blow on it. No kidding. Take it off the wall and blow the dust off when you do your weekly dusting and house cleaning.

Clothing and Linens
The best way to launder embroidered clothing and linens (or to wash a piece of work to be framed or used in a quilt) is by hand. Wash gently in cool or cold water (to avoid colors running). Sometimes just holding the area under running cold water is enough, but the work should not be machine washed or agitated or scrubbed.

Avoid wringing the fabric. To press out water, lay the embroidered work between two towels and press down gently on the area of the work to squeeze excess water out. To dry, lay the work flat on a towel or hang it on the clothesline out of direct sunlight. The work can then be blocked as described in the next post or ironed.

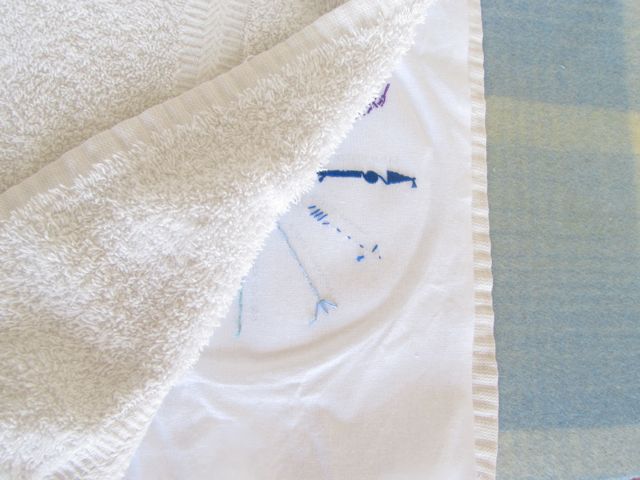
Iron by placing the work face down between two towels. Use a warm iron, not a hot one. If the work is not ironing well between the towels, iron the work from the back gently with a warm iron.
Use natural laundry soap or liquid or bar castille or simple lye soap and avoid heavy detergents. The only real contraindication I'm aware of is that laundry soap (purchased or homemade) containing either or both borax or washing soda should not be used on wool fibers. (Washing soda is not the same thing as baking soda/bicarb.)
If you are trying to spot clean an area, simply wet the area and wash with a bit of diluted laundry soap. If there is a stubborn stain or something dried on, use a VERY soft toothbrush on the fabric around the stitching, not on the stitching directly. You can also carefully try a diluted color-safe bleach or oxygen bleach (sodium percarbonate) which is sold generically or by brand - Napisan in Australia and Oxiclean in the US.
Storing Linens
When storing embroidered linens, try not to fold them sharply right through the stitching. To store a large piece without as many folds, fold once or twice and then roll the piece up to store. Save the cardboard tubes from tin foil or paper towel rolls, roll up the stitched work, and store inside. Some people use layers of acid-free paper in which to lay and store embroidered art.
This tutorial is a bit over the top for our purposes, but I think you'll get the gist of how simple it would be to lay the work on acid-free paper or tissue, roll it up, and slide it into a paper towel cardboard tube.
Is your sampler finished? If you are going to frame it or display it in the hoop, you'll want to come back tomorrow for the instructions the next post. See you then!
No comments:
Post a Comment